Healthy, homemade, and fast enough for the busy Balanced Boss Mom!
Nothing says fall like apple picking at a local orchard, enjoying apple cider and home-baked delicious goodies. Crunching through the first fallen leaves and breathing in the crisp, cool air that only fall can bring. Homemade no peel applesauce in the Instant Pot is a favorite treat we make with the apples we pick! If you don’t think you have time to make homemade applesauce, I promise this is SO easy and SO incredibly delicious. The kids love helping and you know exactly what is going in the applesauce!

It has become a family tradition to go apple picking every year. The kids love it and it is a wonderful family tradition. We have an amazing local orchard, March Farms, that is family-owned and operated. They have clearly worked very hard to make their farm a family-friendly destination. We enjoy supporting local farms and other businesses.
Our last trip has inspired me to want to plant more apple trees in our yard. I would still take my kiddos apple picking at March Farm, but wouldn’t it be nice to have an abundance of apples, for free, in my backyard to use and share with friends! Oh the projects are neverending!!
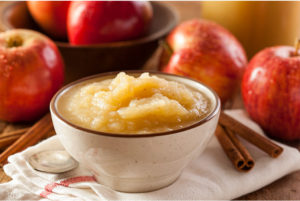
After our apple picking adventures, I am left with an enormous basket full of delicious, beautiful apples. The question is always, what can I do with these? Apple pie, apple crisp, and homemade apple cider are a given. Homemade no peel applesauce in the Instant Pot is always on the list as well. It is delicious, simple and healthy!
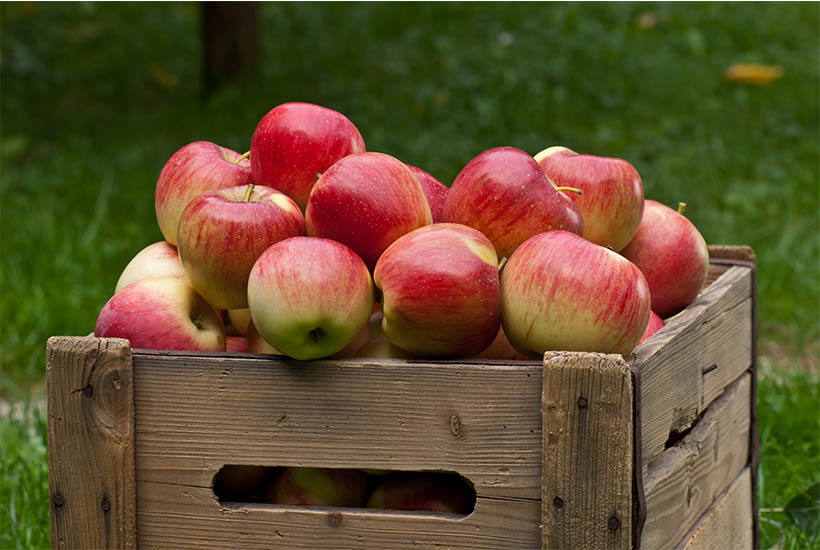
One year, I tried something new and used my Instant Pot (IP) to make the no peel applesauce and I will never go back! You can use any pressure cooker you have. My goal was to make it as easy as possible and this recipe is so easy! With two little kids and running an online business, things get crazy! I need fast and easy. I also do not like peeling apples. Not one bit. I try to teach my kids that hate is a really strong word so I won’t use it here…but I really, really, really don’t like peeling large amounts of apples (or any fruit/vegetable for that matter).
Use an immersion blender to make smooth no peel sauce
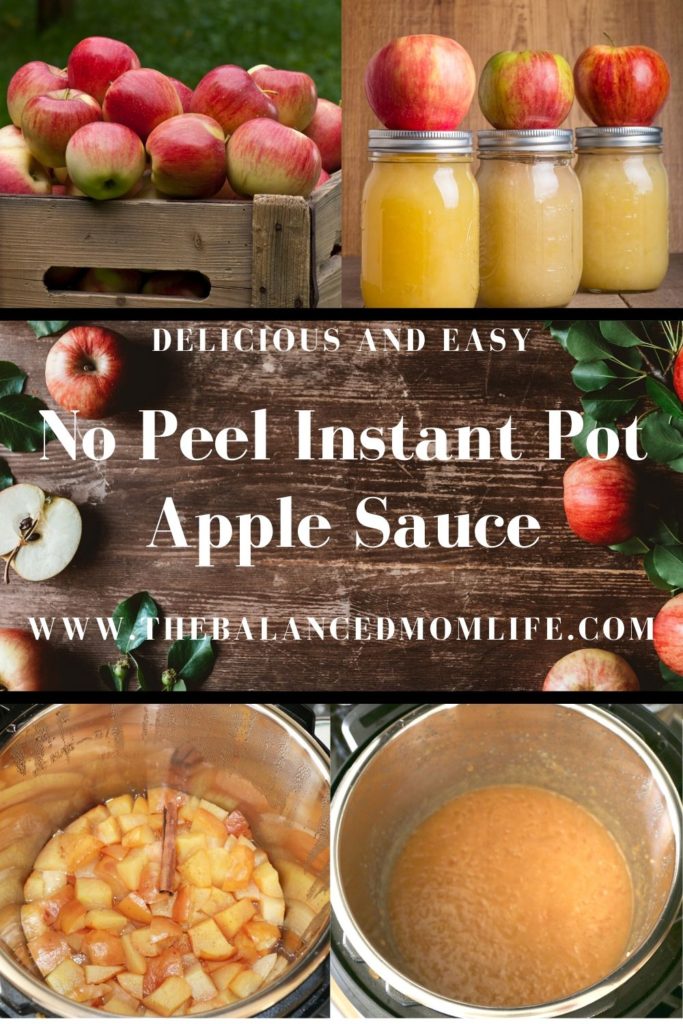
I have to say, the no peel applesauce came out fantastic! It was smooth as can be after using the immersion blender (which I absolutely love!). I like the immersion blender best because it is easy to clean, takes up very little space and can be used anywhere there is a plug. I use mine to make smoothies, soups, and applesauce (of course) on a regular basis. There are so many uses!
What if I don’t have an Instant Pot?
No worries! This applesauce can be made in any pressure cooker or even in a regular pot on the stove. It will just take longer to cook if you don’t have a pressure cooker. No matter what equipment you use, the smells that permeate your house are amazing!
Customize your no peel applesauce:
You can make this applesauce any way you like! This section will help you customize your applesauce for your family!
Different apple (and non-apple) varieties:
Experiment with different types of apples and different types of sweeteners and spices. It is generally a good practice to use a couple of different varieties of apples because it adds to the complexity of flavor, but still not a requirement! Use what you have!
Remember, this is no peel applesauce so keep those nutrient-dense peels on the apples!
If you have a pear (or three) that is past it’s prime you can add that as well. The flavor blends in nicely and it reduces food waste!

Cinnamon:
I have also read in several reputable sources, that using cinnamon sticks is better than the ground cinnamon you likely have in your spice cabinet already. My most recent batch I used one cinnamon stick and the cinnamon flavor was definitely there! My daughter did not like the stronger cinnamon flavor but my son loves it. I enjoyed the stronger flavor and I think it would be fantastic for baking with! (That gives me an idea to test out!) The beauty of this is that you can add exactly what you want for your family and you know exactly what is in your applesauce.
If you don’t like the strong cinnamon flavor you can do a couple of different things:
- Add a cinnamon stick AFTER you have pressure cooked the apples. Leave the instant pot on warm and the flavor will seep into the apples. You will have to let it sit for a while and stir occasionally. Taste test along the way to the desired flavor is achieved. (Takes a little longer)
- Add ground cinnamon after you have pressure cooked and pureed the apples but while they are still warm. Mix it in and taste until you have the desired flavor strength. Once you know how much your family likes, you can add the cinnamon before cooking and it enhances the flavor. (Quick and easy)
Other spices:
You can add nutmeg, ginger, allspice, or cloves. Experiment with what you like! Use these spices in very small amounts at first as they are very potent. Fresh ground nutmeg and ginger are the best but whatever you have on hand will work just fine!
Sweetener
I add a small amount of sugar when I make my applesauce. It really doesn’t need much at all. Depending on how many apples you are using, the amount will vary. I add about 2-3 tablespoons for 5 pounds of apples.
Depending on your tastes, it may not need any sugar at all. When I made applesauce for my kids when they were babies I didn’t add any sugar at all. Try it out and see what you like!
Step-by-Step Instructions:
I like to include detailed instructions to take away the guesswork. If you are brand new to cooking, a pressure cooker, or just have never made applesauce before, it can be overwhelming! I don’t want that to stop you though! You can do this! You are also welcome to ask any questions you may have and I am happy to help!
If you are thinking, I got this, feel free to scroll on down to the recipe!
Step 1: Choosing apples
When deciding what apples to use, remember, it really doesn’t matter! Use what is on sale. Use what you already have or your favorite varieties. Don’t be afraid to mix it up and use several different varieties. This will actually give the applesauce a more interesting and complex flavor.
I love using apples that are past their prime or have bruises because, for applesauce, this doesn’t matter! You don’t want a truly rotten apple, but salvage what you can if you have an apple with a really large bad spot. Often times there is half or more of the apple that is perfectly fine! My kiddos know to put aside any “bad apples” for applesauce!

In the fall when apple orchards are full of ripe apples, you can often get great deals on huge amounts of apples (especially on “seconds”). Seconds are apples that aren’t perfect and so you can get them at a lower price. Remember, applesauce apples don’t have to be perfect!
You can make large batches of applesauce and can them for your family. Canned applesauce will last at least one year if stored properly. Applesauce is easy enough to make once a month or so, but if you want to take advantage of buying in bulk at the orchard, canning is really the only option.
Step 2: Wash your apples thoroughly
This is an important step. Since the peels get left on for no peel applesauce, you want to make sure to wash the apples properly.
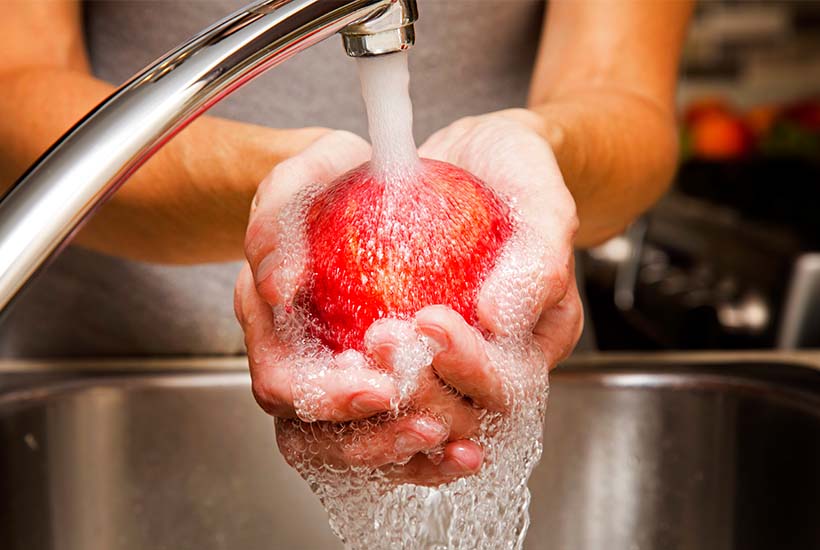
Simply rinsing the produce under running water isn’t enough, though many people think it is. Is that how you would wash your hands? Rinsing under running water can get off obvious dirt and debris, but it won’t get rid of germs and residues. The heat of cooking will kill most things but will not remove chemical residue.
I have a foaming soap dispenser on my kitchen sink that I keep filled with diluted Dr. Bronner’s liquid castile soap. I will dispense this into my hands and scrub each apple individually, then rinse thoroughly. You can also use a clean washcloth.
You can peel the apples if that is your preference! I just really don’t like peeling apples and the applesauce comes out amazing and smooth so it’s a win-win! It is also known that the skin of the apples has great nutritional value! So for me, it’s no peel applesauce!
“Fresh, whole apples offer the most nutrients. Discarding the skin removes much of the fiber and the majority of flavonoids.”
Source: https://www.hsph.harvard.edu/nutritionsource/food-features/apples/
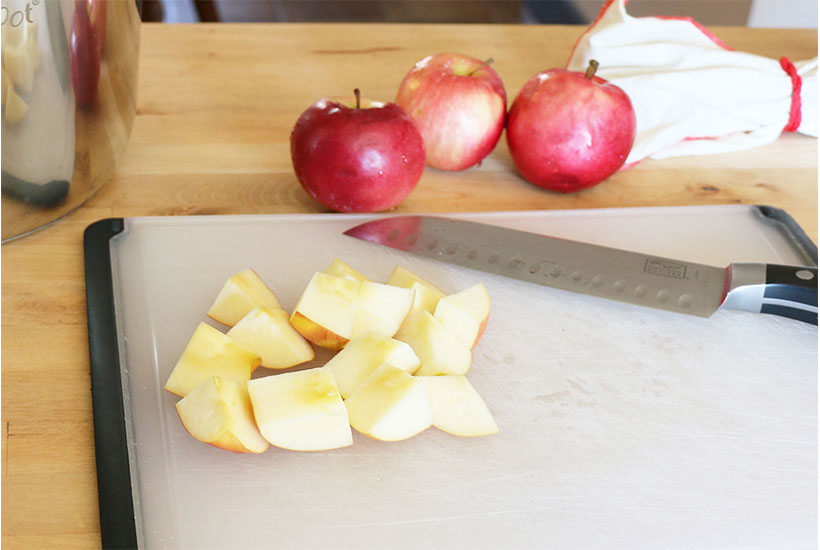
Step 3: Cut the apples into large chunks
The size of the chunks really doesn’t matter. It can affect the cooking time as smaller chunks will cook faster so just keep this in mind. I wouldn’t waste time cutting them small. If you cut the apples rather large, as I do, add a minute or two. Either way, an extra minute or two will not affect the outcome of the applesauce (it will just make you wait longer for the deliciousness!).
Step 4: Add ingredients to the inner liner
Make sure you are using the inner liner of the Instant Pot! If you are new to using the IP, this is important to remember! Look before you toss ingredients in! When making no peel applesauce, I will take the liner out, add directly to it, then put the liner back in to cook. This is a matter of personal preference though.
Add in all the apple chunks, 1 cup of water (this is to prevent scorching and required for recipes using the Instant Pot), and the remainder of the optional ingredients.
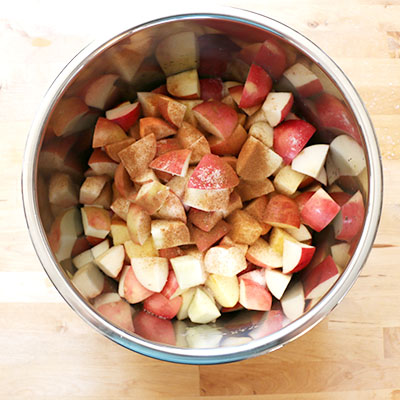
Adding half a teaspoon of salt helps balance the flavor. It will offset bitterness and enhances sweetness. This may seem counterintuitive but it’s true!
Adding lemon juice will keep the apples from browning too much. It will not affect the flavor of the finished product because you are adding such a small amount. I have made applesauce both with and without the lemon juice and have not had a problem either way.
Cinnamon is a delicious addition to applesauce. Be fair warned, if you add a cinnamon stick and then pressure cook, it will add intense cinnamon flavor. I will add ground cinnamon before cooking (or after if I forget) and it comes out perfect. You could also make a batch with the cinnamon stick, another batch without and then combine the two into one large batch. This will mellow the cinnamon flavor. Play around with it and see what you and your family prefer! The beauty of this recipe is that you can adjust so many things! Make it yours!
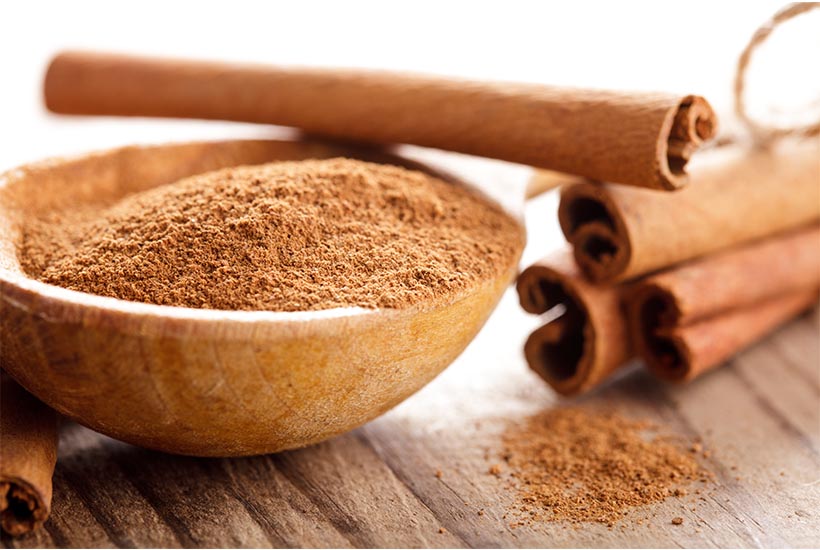
You can also add other spices like nutmeg, cloves, and ginger. These are STRONG spices though so add small amounts to begin. I would start with a scant 1/4 teaspoon (not heaping!). I would also add these after pressure cooking and blending while the apples are still warm. You can sample and add more spice based on your tastes. You can also ladle out a small amount into a separate bowl and test the spices to see what you will like. This way you won’t ruin the entire batch if you don’t like it! Just be careful because the sauce will be super hot!
Step 5: Cook
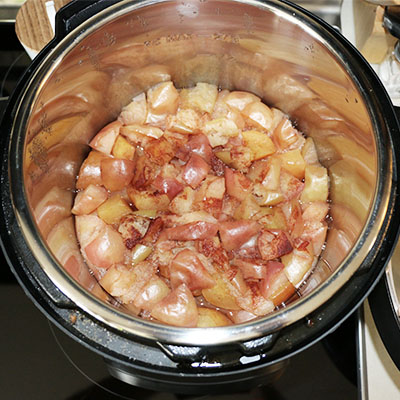
Place the inner liner back in the pot if you had it out. Double-check that you added one cup of water. This is necessary for the Instant Pot! Check the ring on the lid to make sure it is clean and properly seated. Having the ring properly seated is crucial for the function of the pot. If your pot isn’t coming to pressure, it might be because the ring isn’t properly in place.
Lock the lid in place and make sure the vent is closed. Please refer to your instructions as the buttons vary between the various models. Set your pot to pressure cook on high for 5-7 minutes. The timing depends on how large the apple pieces are and what types of apple. Small, soft apple pieces will cook faster. These are not strict times but suggestions for where to start.
Venting the Instant Pot
Once the timer has finished, you can do a quick release or let it vent naturally. Either way is fine and really just a matter of personal preference. My only caution to you is that doing a quick release with thick foods like applesauce can make the vent sputter liquid out. (It can get messy, trust me.) This also depends on how full the pot is. Letting it vent for 5-10 minutes will help with this.
For me, I have usually walked away and done other things and by the time I come back to the pot, it has already naturally released all the way! There is no reason to watch this closely, it will be fine!
Puree the apples
Let the apples cool slightly to avoid a burn that can happen if the sauce splashes. I find an immersion blender to be the easiest choice for pureeing, but you can also use a regular blender or even a food processor. Use what you have!
If you added a whole cinnamon stick be sure to remove it now.
Blend the apples to the consistency that you like. Taste test the sauce and add any additional sugar or spices you would like.
Store the sauce
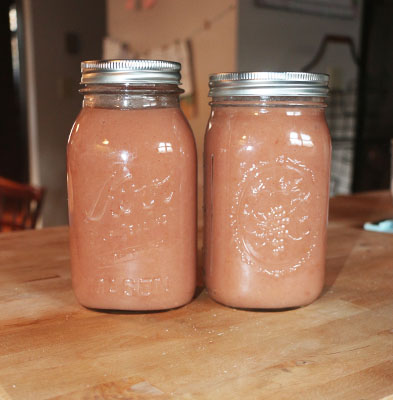
I pour my sauce into a large mason jar and store it in the fridge. It will store well for at least 2 weeks.
Pouring the warm sauce into jars is not canning it. Applesauce needs to be properly canned in a water bath. So, if you are making large batches make sure you process them properly.
As with everything, check for mold growth or a bad smell before eating. It is also important to label the jar with the date. Even if you think you will eat it quickly, sometimes things get pushed to the back of the fridge and you don’t know how old something is. I know because I have done it many times. No judging here.
Printable Recipe:
Here is an easy to print recipe card for reference. You can add it to your recipe binder and add your own notes about what your family liked (or didn’t’ like). Make it your own!
Easy No Peel Instant Pot Applesauce
Ingredients
- 5 pounds apples Use different varieties for more complex flavor.
- 3-4 tbsp sugar optional
- cinnamon (ground or stick) optional and to taste
- 2 tbsp lemon juice optional
- 1/2 tsp salt optional
Instructions
- Wash and dry the apples. *
- Cut the apple off the core and then into large chunks. Size and uniformity doesn't matter.
- Make sure Instant Pot inner pot is clean and placed in the housing properly. Check that the seal is seated in the lid and is clean.
- Add apples to the Instant Pot inner pot.
- Add 1 cup of water to the apples. (You can add the optional lemon juice as well here)**
- Optional: Add sugar and cinnamon to taste. If you add a cinnamon stick the cinnamon flavor will be strong. You can also add ground cinnamon after the applesauce has cooked.
- Optional: Add salt to balance the flavor and enhance the sweet flavor.***
- Put the lid on the Instant Pot and close the vent.
- Cook for 5-7 minutes on high pressure. The timing depends on how large the apple pieces are and what types of apple.
- When the timer is done you can do a natural release or a quick release. I recommend a natural release for 5-10 minutes and then quick release the rest. Depends on your available time though and won't affect the applesauce.
- If you added a whole cinnamon stick, remove it now.
- Mash the apples (chunky) or blend with an immersion blender (smooth) to the desired consistency. Be careful doing this as the apples are VERY hot!
- Taste and add additional sweetner or cinnamon if desired.
- Pour the applesauce into a storage bowl or jars and let cool. (You can eat it warm and is delicious over ice cream!) Cover it once it is cool.
- Store in the refrigerator or process for canning.
Notes
Go make some no peel applesauce!
No matter what time of year it is, no peel applesauce is delicious. You can make this applesauce with whatever apples you have on hand. This is a fantastic way to use up bruised or overripe apples that you don’t want to throw away. Reducing waste and saving money all at the same time! Win! In my house, we always have apples on hand and this can save me a trip to the grocery store if we need applesauce!
This is so fast, easy, and delicious, even busy balanced boss moms like us can add it to our routine. 🙂
Please feel free to reach out with any questions and comment on how making no peel applesauce went for you! I love hearing from you! If you made it please leave a rating below with your comment! I truly appreciate you taking the time!


Leave a Reply